How to install Typeheist Desktop fonts
Let’s get you up and running with your new fonts, so you can start designing in your favourite desktop apps. Below is a quick guide showing how to add desktop fonts to your Mac or PC computer.
On a Mac:
-
Download and unzip your font package.
-
You’ll see an .otf file in the ‘Desktop’ folder.
-
To install the font, you can either:
-
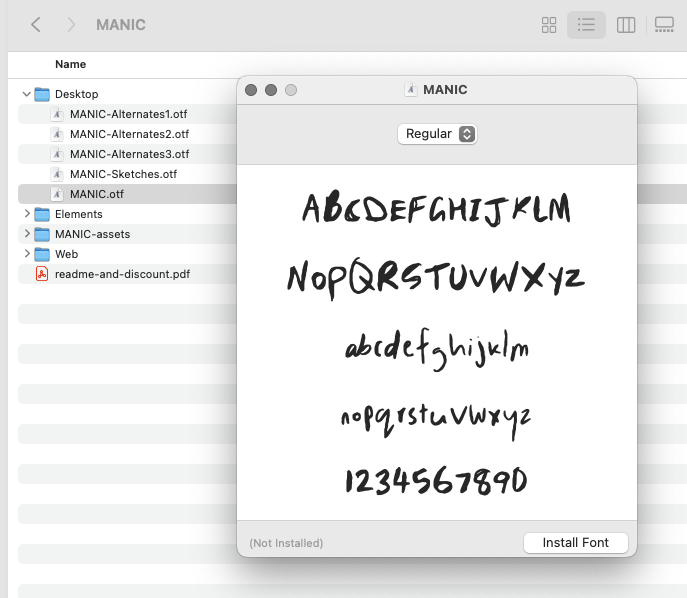
Double click the font file. This will open up a preview window where you can select ‘Install Font’.
-
Right click the font file and select ‘Open with > Font Book’. This will open up a preview window where you can select ‘Install Font’.
-
Open Font Book and drag the font file(s) into the Font Book font list (this the the method I use as you can install multiple at once).

-
-
Now that your font is installed, it will be available in desktop applications that support fonts (e.g. Illustrator, Photoshop, Figma). You may need to restart these programs to enable the fonts to load.
On a PC:
-
Download your font package.
-
In the font package, find the .otf file in the ‘Desktop’ folder and double click the file.
-
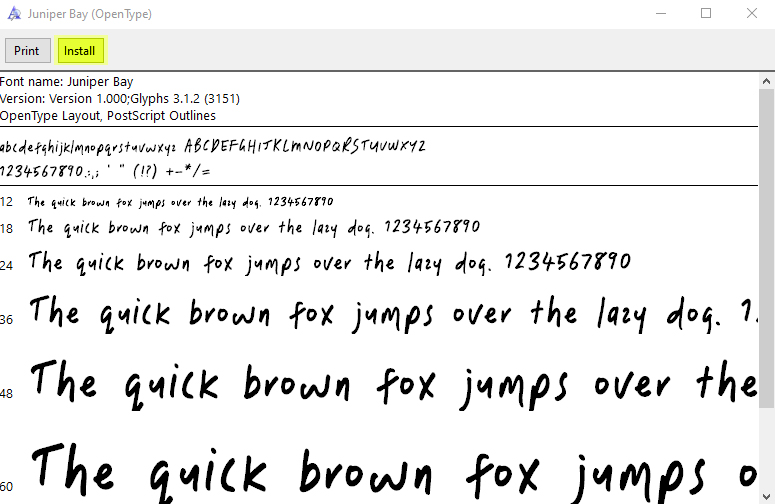
The will open a preview window. Click ‘install font’.

-
Now that your font is installed, it will be available in desktop applications that support fonts (e.g. Illustrator, Photoshop, Figma). You may need to restart these programs to enable the fonts to load.
Your fonts should now be good to go. If you have any issues, send me an email and I’ll be happy to help.
Happy fonting 🙂 Laura
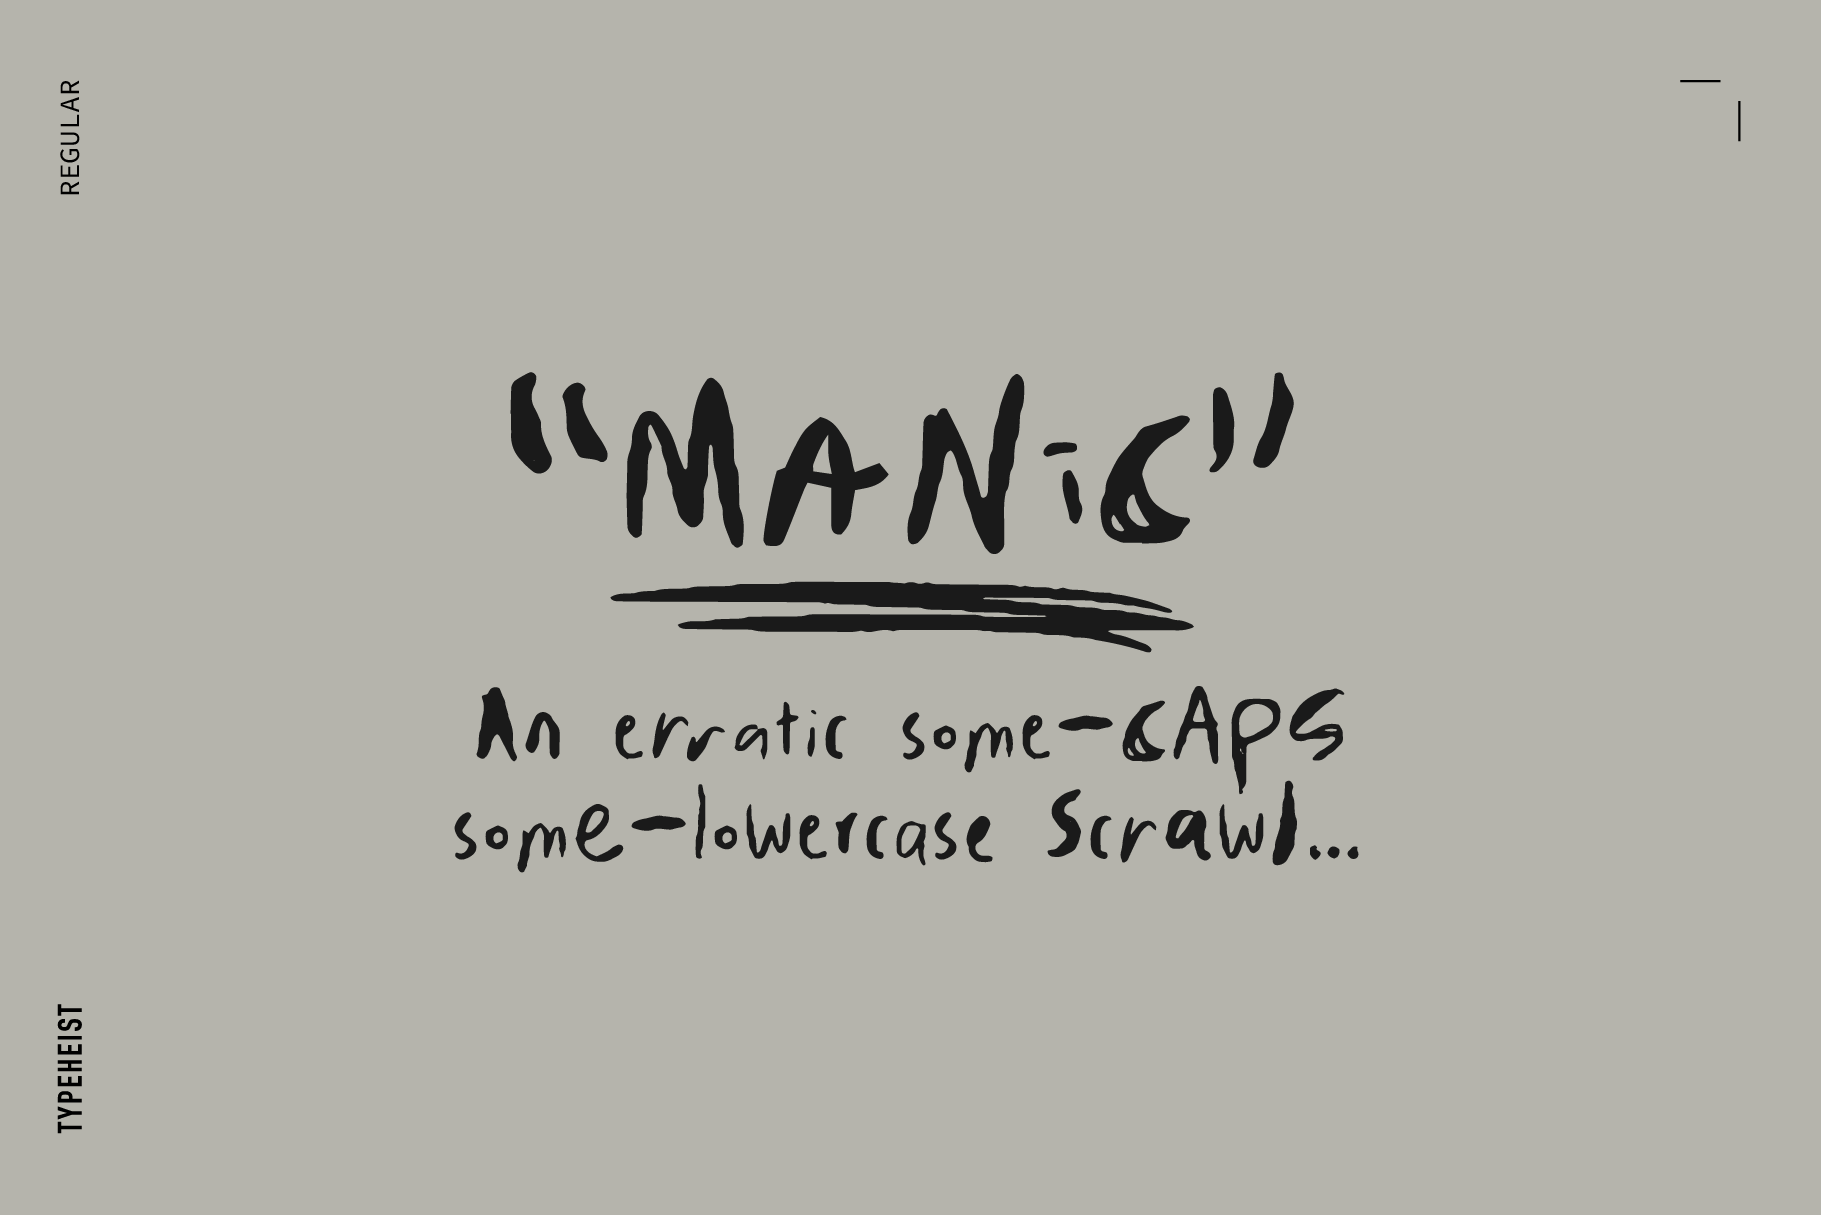
Fonts in this article:

Keep reading
View all articles →15 messy handwritten Halloween fonts
From jittery brush strokes to scratchy marker lines, we’ve curated 15 of our favourite spooky, messy and hand-crafted fonts to inspire your Halloween designs.
Read on →Which Desktop Font License Do I Need?
Not sure which desktop font license is right for you? Learn how to choose the correct license.
Read on →


